Latest News and Articles From the A & T Carpentry Blog
How To Fit and Hang an Internal Door
Here we will show you how to replace a standard internal door, including how to trim the door to size and how to find the perfect hanging position!
For advice on choosing the right door for your home see our guide to buying internal doors.
1. Good planning and preparation!
When replacing an internal door, the job is made much easier if you can use the same sized hinges and the same hinge positions as the original door. Alternatively, you’ll need to make new hinge positions; these tend to be 150mm from the top of the door and 225mm from the bottom, with an optional third hinge in the centre of the frame
Bear in mind that even if you purchase a standard internal door, some door frames, especially those in older houses, may not be a standard size. Therefore, you may still need to trim your new door to fit the existing frame
If you do need to trim your door, check the instructions as the maximum amount that can be removed from the top, bottom and sides of a door varies between doors.
To allow your new door to acclimatise, lay it on a flat and even surface for three days prior to hanging.
If you need to trim your door to size, make sure that all reductions are made equally to opposite sides! When making cuts to fit the hinges if you are chiselling with the grain, then it can be easy to split the wood. Avoid this by making sure the chisel you are using is sharp and that you make lots of small cuts rather than a few large ones. It is always best to drill pilot holes to reduce the chance of the wood splitting before screwing on hinges.
Step 1
Carefully remove the old door, making sure the weight of the door is supported when you remove the final screws.
Step 2
Stand the new door up in the doorway to check whether it needs trimming. If it does, use a pencil to mark the top of the door opening onto the new door.
Step 3
Secure the door to your workbench with clamps. Measure the distance that needs trimming and divide that measurement equally across the top and bottom of the door. Then, add an additional 3mm to both ends to allow for clearance.
Step 4
Carefully mark a cutting guideline on the bottom of the door. If you are only removing a small amount of excess wood, trim using a plane. Alternatively, use a panel saw or circular saw to remove larger amounts. Ensure that you cut in a completely straight line..
Step 5
Now that the door is cut to height, hold it up against the frame to check whether the width of the door fits. If it doesn’t, hold the door so one side is in position and then mark the overhanging distance onto the door.
Step 6
Measure the overhang and divide the measurement equally across both sides. Then add an extra 3mm onto each side to allow for clearance.
Step 7
Draw a cutting guideline then remove the excess wood with a plane or saw.
Put the door into position and place small wedges underneath it to lift it off the ground. Position the door so there is a consistent 3mm gap between the door and the frame on all sides.
Step 8
Once the door is in position, use a pencil to mark the position of the existing hinges onto the door. Lay the door onto your workbench and align the hinges you will be using with the marks you made. Carefully draw around the hinges to mark their outline onto the door.
Step 9
Measure the thickness of the hinge plate then mark a line of the same thickness onto the edge of the door. Using a sharp chisel, cut around your pencil lines to clearly mark where the hinges will be situated. Then, position the chisel at a 45-degree angle to the door and, using your pencil mark as a guide, make small cuts at 5mm intervals to the same depth as the hinge plate. Next, turn the flat side of the chisel towards the door and chisel out the recess for the hinge plate.
Step 10
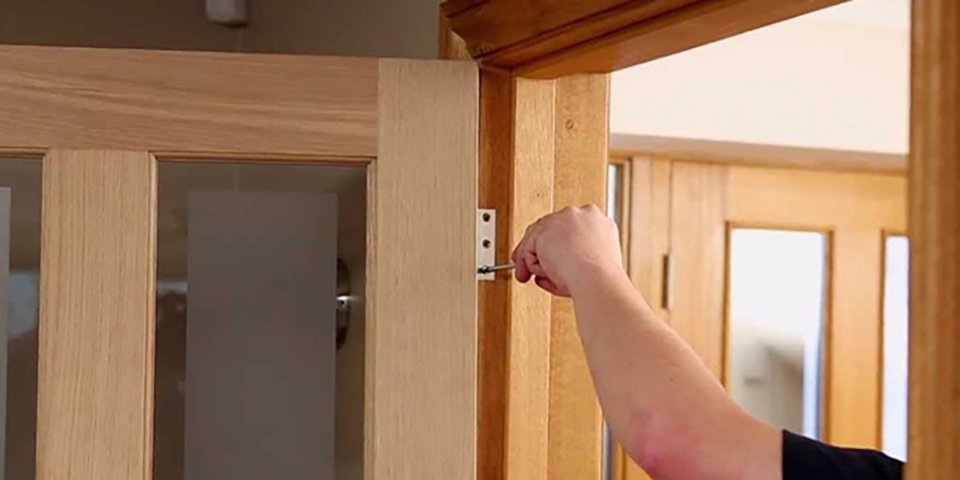
Put the hinges back into position and drill pilot holes. Then, carefully screw the hinge plates to the door using the provided screws. Place the door against the frame and position it so that it is open to 90-degrees.
Put the first screw through the lowest hole of the top hinge plate and secure it in place. Then, put a screw through the lowest hole of the bottom hinge plate and secure it. Put the third screw into the top hole of the top hinge. Once these three screws are in place, check that the door opens and closes without catching. If the door does catch, simply mark the area that needs trimming, remove the door and then trim down the area with a plane, or with sandpaper and a sanding block.
Once the door opens and closes cleanly, carry out finishing touches such as painting the door or making cut-outs for handles or latches. Finally, screw in the remaining screws to secure the door in place.
Contact A & T Carpentry
A & T Carpentry would love to hear about your project. Why not tell them about your home decor project or renovation plans. They are always on hand to offer free friendly advice and a competitive quotation.
Recent Comments